How to run kubeflow on AKS
What’s Kubeflow ? Let me copy/paster two lines from wikipedia : At its core, Kubeflow offers an end-to-end ML stack orchestration toolkit to build on Kubernetes as a way to deploy, scale and manage complex systems. Features such as running JupyterHub servers allowing multiple users to contribute to a project simultaneously has become an invaluable asset of Kubeflow. Detailed management of a project and in depth monitoring/analyzing of said project are paramount attributes in Kubeflow.
Online documentation for AKS is not up to date
Kubeflow is an open source, popular and community centric MLOPs platform. After few discussions, one of my customers asked my help to troubleshoot the installation. So I decided to dig into in order to unblock him.
He was following this link in order to install on AKS. However, after playing the whole installation script, there were some error on some components : MI Operator and Istio. So, he decided to try another installation for AKS (this one), without any success 🙁
After few research on Kubeflow repository, it looks like the version 1.2.0 is outdated as a 1.4.0 branch exists and it is the latest, so let’s install this one.
How to install v1.4 on AKS
In this section, we’ll assume that you already have a running AKS v1.20.9; maximum v1.21. But v1.22 is not supported.
Using WSL, the fIrst thing to do is to clone the Kubeflow repository and place ourselves in the 1.4 branch
git clone https://github.com/kubeflow/manifests.git
cd kubeflow/manifests/
git checkout v1.4-branch
Once you are in the correct branch, we have to get the kustomize binary working with Kubeflow. According Kubeflow repo, we need to use 3.2.0 version.
wget https://github.com/kubernetes-sigs/kustomize/releases/download/v3.2.0/kustomize_3.2.0_linux_amd64
mv wget kustomize_3.2.0_linux_amd64 kustomize
Now, let’s edit istio admission webhook template in order to fix few AKS particularities (kudos). In the \common\istio-1-9\istio-install\base\install.yaml file, after line 1933 add the followings:
  annotations:
    admissions.enforcer/disabled: "true"
In \common\oidc-authservice\base\params.env you’ll have to modify the values accordingly to your app registration to enable Azure AD authentication. Please don’t forget to set OIDC_SCOPES to profile email. We will edit an apply the Redirect_URI once we’ll have the external IP of the LoadBalancer.
In \common\oidc-authservice\base\secret_params.env we’ll set the value for our OIDC service to authenticate to Azure AD. Just edit the file and put the ClientID and the Secret you’ve configured in your AAD app registration.
Now, as we as all files prepared, let’s install KubeFlow, with all the following commands
kustomize build common/cert-manager/cert-manager/base | kubectl apply -f -
kustomize build common/cert-manager/kubeflow-issuer/base | kubectl apply -f -
kustomize build common/istio-1-9/istio-crds/base | kubectl apply -f -
kustomize build common/istio-1-9/istio-namespace/base | kubectl apply -f -
kustomize build common/istio-1-9/istio-install/base | kubectl apply -f -
kustomize build common/dex/overlays/istio | kubectl apply -f -
kustomize build common/oidc-authservice/base | kubectl apply -f -
kustomize build common/knative/knative-serving/base | kubectl apply -f -
kustomize build common/istio-1-9/cluster-local-gateway/base | kubectl apply -f -
kustomize build common/kubeflow-namespace/base | kubectl apply -f -
kustomize build common/kubeflow-roles/base | kubectl apply -f -
kustomize build common/istio-1-9/kubeflow-istio-resources/base | kubectl apply -f -
kustomize build apps/pipeline/upstream/env/platform-agnostic-multi-user | kubectl apply -f -
kustomize build apps/kfserving/upstream/overlays/kubeflow | kubectl apply -f -
kustomize build apps/katib/upstream/installs/katib-with-kubeflow | kubectl apply -f -
kustomize build apps/centraldashboard/upstream/overlays/istio | kubectl apply -f -
kustomize build apps/admission-webhook/upstream/overlays/cert-manager | kubectl apply -f -
kustomize build apps/jupyter/notebook-controller/upstream/overlays/kubeflow | kubectl apply -f -
kustomize build apps/jupyter/jupyter-web-app/upstream/overlays/istio | kubectl apply -f -
kustomize build apps/profiles/upstream/overlays/kubeflow | kubectl apply -f -
kustomize build apps/volumes-web-app/upstream/overlays/istio | kubectl apply -f -
kustomize build apps/tensorboard/tensorboards-web-app/upstream/overlays/istio | kubectl apply -f -
kustomize build apps/tensorboard/tensorboard-controller/upstream/overlays/kubeflow | kubectl apply -f -
kustomize build apps/training-operator/upstream/overlays/kubeflow | kubectl apply -f -
kustomize build apps/mpi-job/upstream/overlays/kubeflow | kubectl apply -f -
kustomize build common/user-namespace/base | kubectl apply -f -
You can find explenations about each services and what they are here for on the Kubeflow main branch README. You may have some warnings complaining that kubernetes api version will be retired in the future release.
Now it’s time to expose our Kubeflow to the external world. To do that we’ll use for this demo a self-signed certificate, which obviously you shouldn’t to for production usage 😉 So let’s edit the istio ingress gateway kubectl edit -n kubeflow gateways.networking.istio.io kubeflow-gateway and add the below lines at then end of the file
    tls:
        httpsRedirect: true
- hosts:
    - '*'
    port:
        name: https
        number: 443
        protocol: HTTPS
    tls:
        mode: SIMPLE
        privateKey: /etc/istio/ingressgateway-certs/tls.key
        serverCertificate: /etc/istio/ingressgateway-certs/tls.crt
Now, to patch the service type to a LoadBalancer kubectl patch service -n istio-system istio-ingressgateway -p '{"spec": {"type": "LoadBalancer"}}' and to wait for it to get an external IP kubectl get svc -n istio-system istio-ingressgateway -w
Once it have an external IP, you’ll have to create the self signed certificate for your ingress gateway to have OIDC to work. Please create a file named certificate.yaml with the following content
apiVersion: cert-manager.io/v1alpha2
    kind: Certificate
    metadata:
    name: istio-ingressgateway-certs
    namespace: istio-system
    spec:
    commonName: istio-ingressgateway.istio-system.svc
    # Use ipAddresses if your LoadBalancer issues an IP address
    ipAddresses:
    - <LoadBalancer IP>
    # Use dnsNames if your LoadBalancer issues a hostname
    dnsNames:
    - <LoadBalancer IP>
    isCA: true
    issuerRef:
        kind: ClusterIssuer
        name: kubeflow-self-signing-issuer
    secretName: istio-ingressgateway-certs
Apply it to create the certificate kubectl apply -f certificate.yaml -n istio-system
Now we have the ingress listening on the correct IP with a (self signed) certificate, let’s update the redirect URI for our application in common\oidc-authservice\base\params.env and in your AAD app registration also. Once you’ve done it, you can rebuild the OIDC service kustomize build common/oidc-authservice/base | kubectl apply -f -
Now it’s time to create you’re first user and associated namespace for him to start playing with Kubeflow. In order to do that, nothing more simple than editing common\user-namespace\base\params.env and to change user email address and the profile you want to be created before applying the file kustomize build common/user-namespace/base | kubectl apply -f -
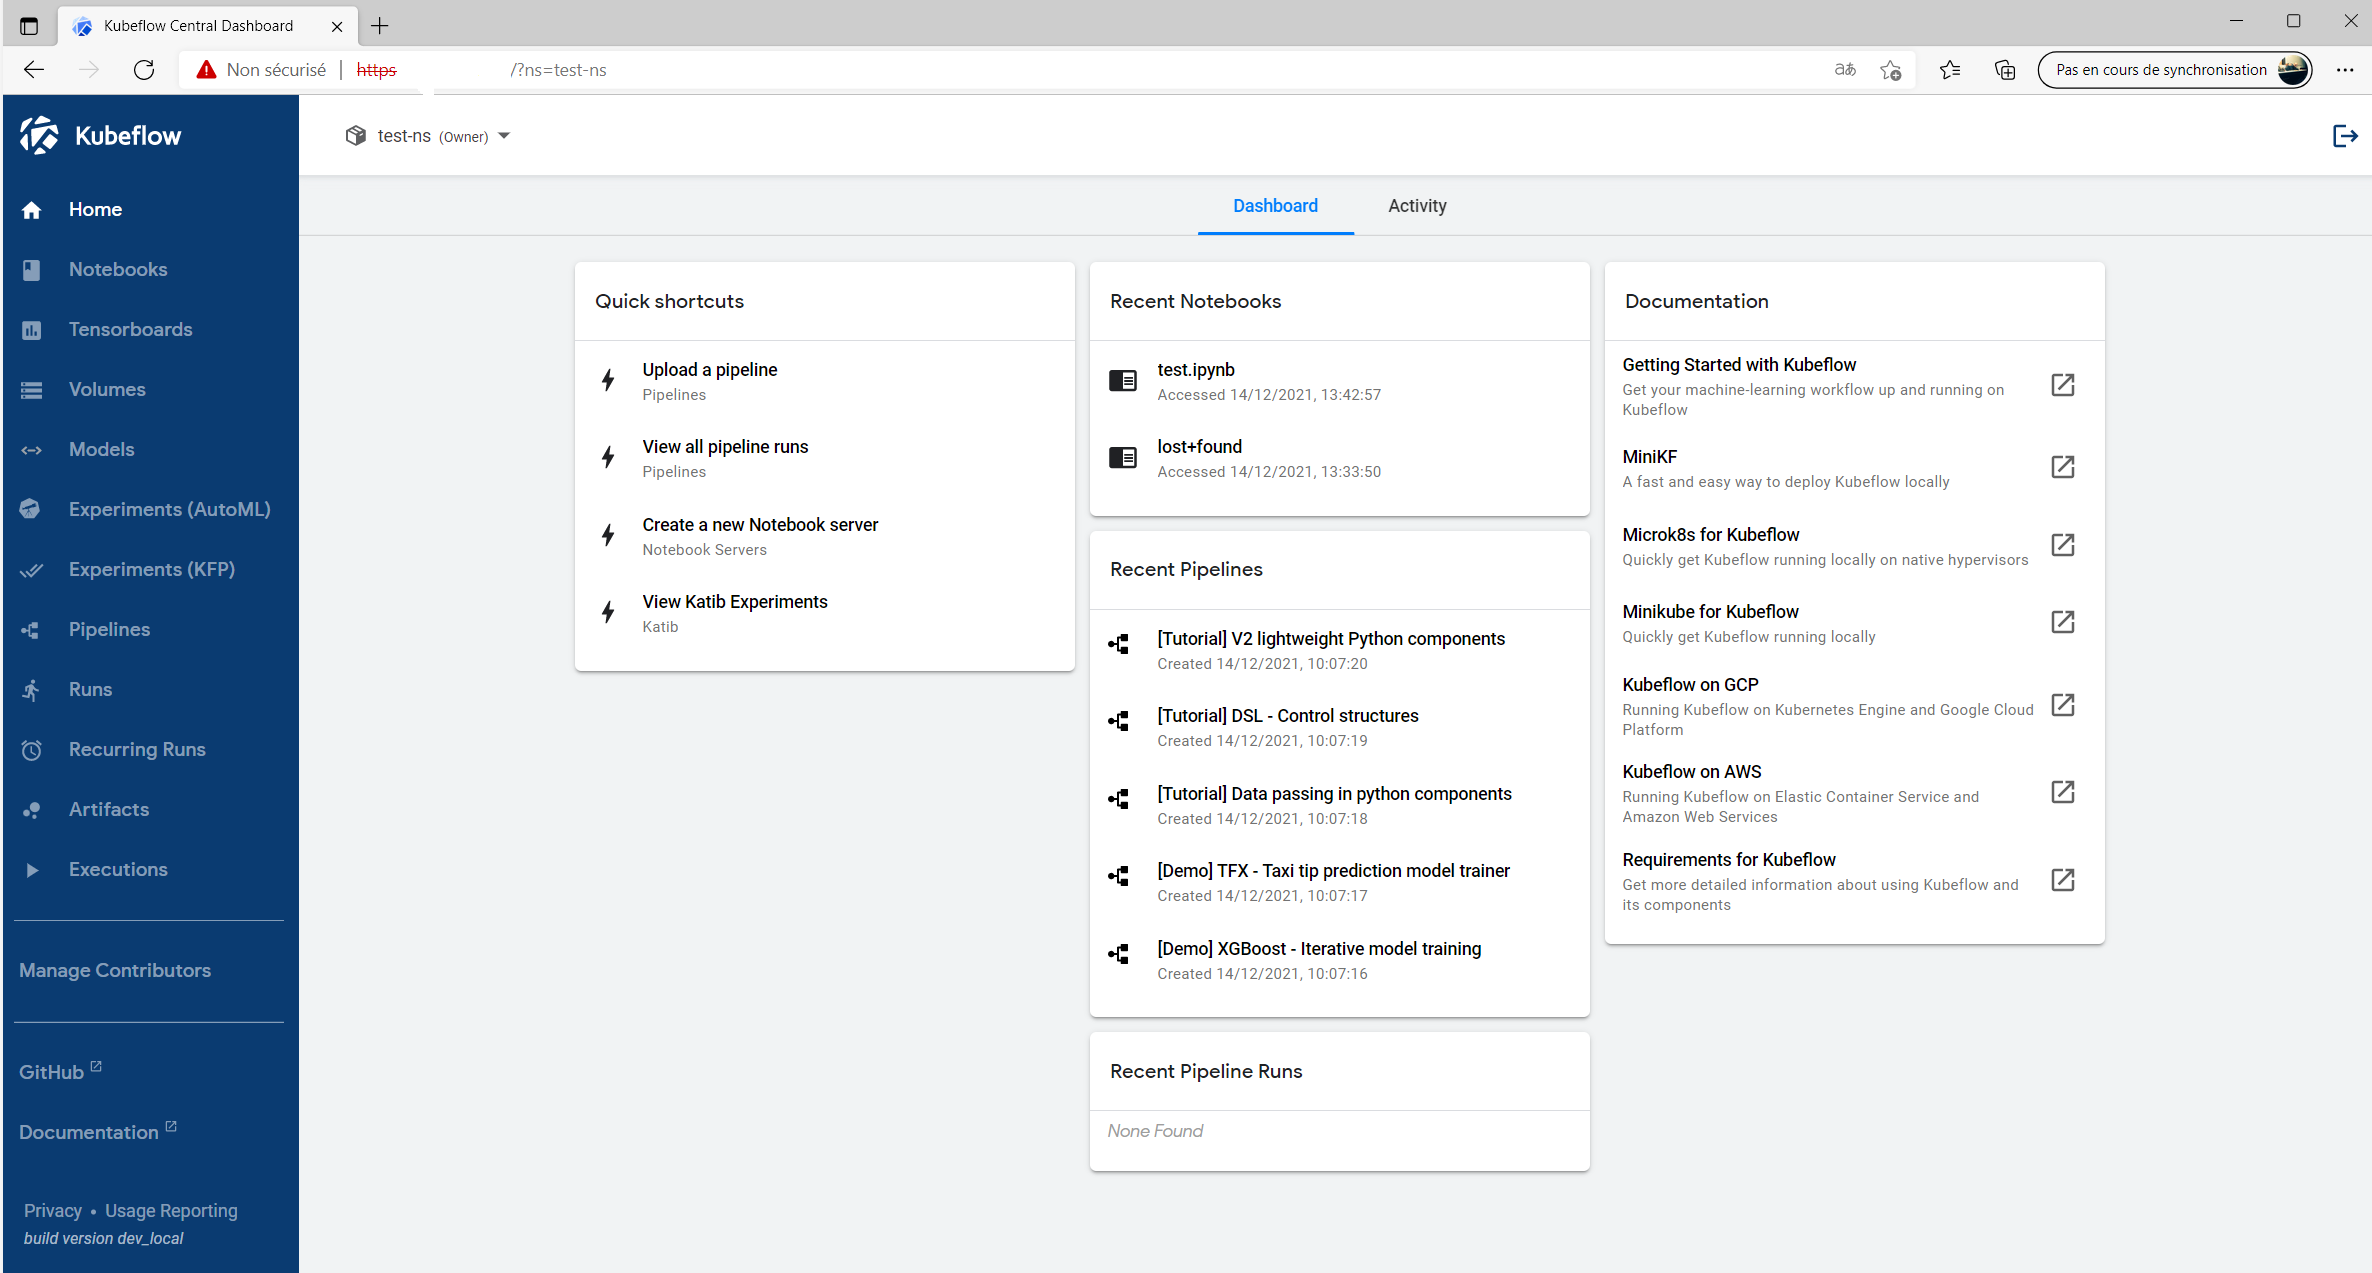
You can access the Kubeflow portal using https://<ingress_lb_ip> and voilà !
In a next article of this serie, we’ll have a look about how using kubeflow with AKS runnning on GPU VM series and in a third article, how to use Azure Machine Learning to train your models !
See you soon !